
From Plain to Just Plain Gorgeous!
I'm really into these wood jewelry boxes at the moment.
I have a L-O-V-E of antique/vintage tins like these:


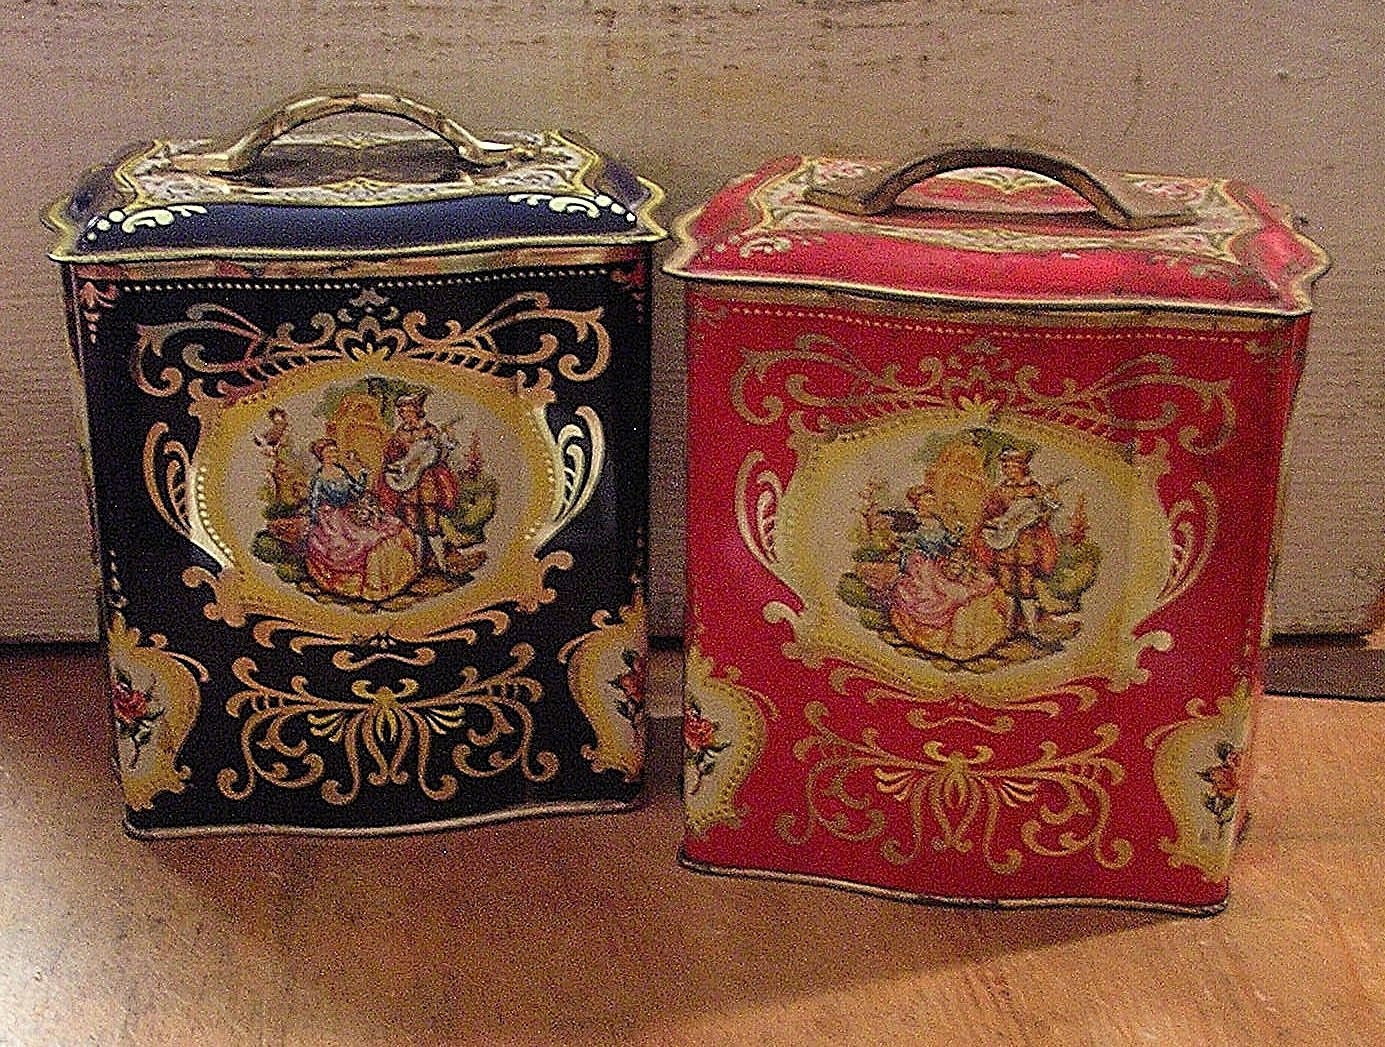
(aren't they lovely!?) So when I ran across these plain wood boxes I bought the last 3 they had and have been painting them. (Other post here: Painting Wood Boxes 1)
So I thought I'd show you all a little progress on the next one, and give a brief step by step.
Start with the plain wood box:

What I do to get the distressed look is to pick two colours that have a nice contrast. In this case, I chose black and lavender. Take one colour and paint all the edges and corners and allow to dry. Then go over the whole box (but only LIGHTLY on the edges and corners) and allow that to dry. Next, grab your medium grit sandpaper and sand it down, paying attention not to remove ALL the paint from large areas.

Now, I designed my own motif for the decorations, but you can use a stencil if you want. Center and trace your design and choose the colours you'd like to compliment the background. I've gone with black, slate and cream and plan to also use gold and *maybe* a hint of brick red later (I'm not done yet!)

Stay tuned, I'll go over sanding and varnishing next, and then on to lining the box and adding feet, too!
Be sure to go and have a look at my website where I display my fine art & day of the dead pieces. Buy prints and originals as well as stationary there, too! Here: Sherri Nelson Artworks
No comments:
Post a Comment
Spam will be deleted, oh yes it will. :)